Baby, It’s Cold Outside! Protecting Your Natural Hair in the Winter


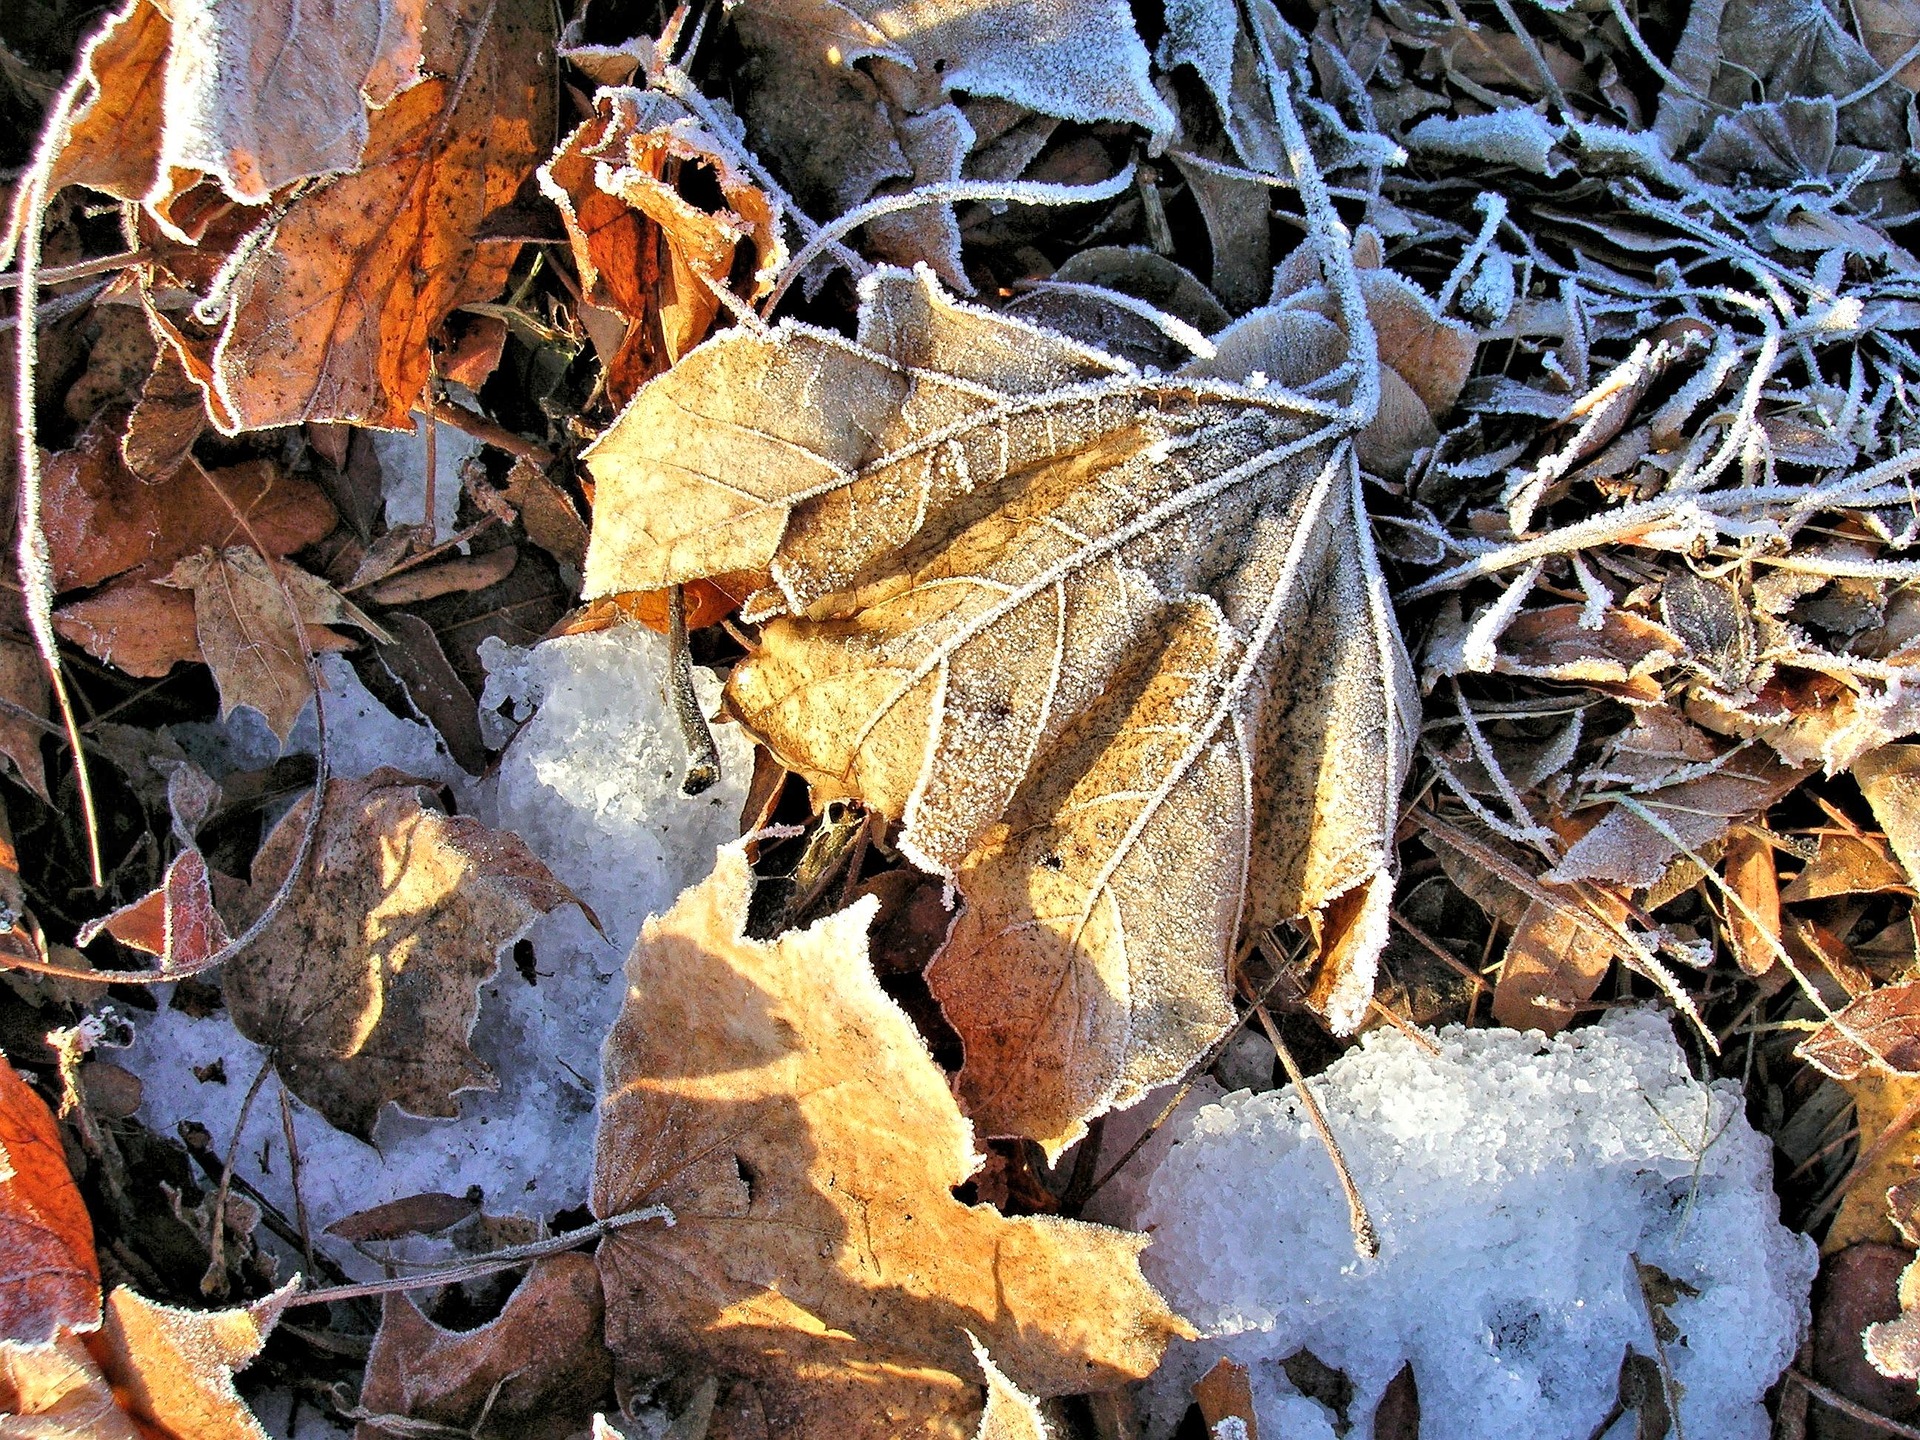
It is undeniable that in many parts of North America, Fall is now in full effect…which means that Winter will be with us soon enough…le sighSo, with that, we must take extra steps to understand the effects that the chilly winter air may have on our kinky, curly hair, and work with our tresses to prevent the potential damage that can take place due to the colder temperatures.

A change in the weather can cause not only changes in our energy levels and skin health but also impacts the way our body grows hair, and how it produces and distributes its natural oils. Even so, it’s a common half-truth that cold temperatures can cause one to lose quite a bit of hair due to excessive shedding. While it is true that colder temperatures can cause the skin- including the skin on the scalp- to become excessively dry, in terms of hair loss vs. hair growth during the colder months, the body is actually at a slight advantage.

The reason why is because, like other mammals, humans tend to grow thicker manes during the winter months; this happens because when it becomes colder, the human body responds by producing and releasing melatonin (a hormone which regulates biorhythms, such as sleeping and waking). Melatonin is said to cause your body to balance out its natural hair growth cycle, which in turn causes the hair to become stronger and potentially grow thicker to counteract the cold.

So, what does all of this mean? Well, it means that you should have no problem retaining your hair length as well as maintaining your hair health despite the winter season, provided you make certain changes to your hair care regimen. (Click here to find out more about the behaviour of hair in winter weather.)

Here are some key changes you should make to your hair regimen to preserve your tresses during the cold weather:

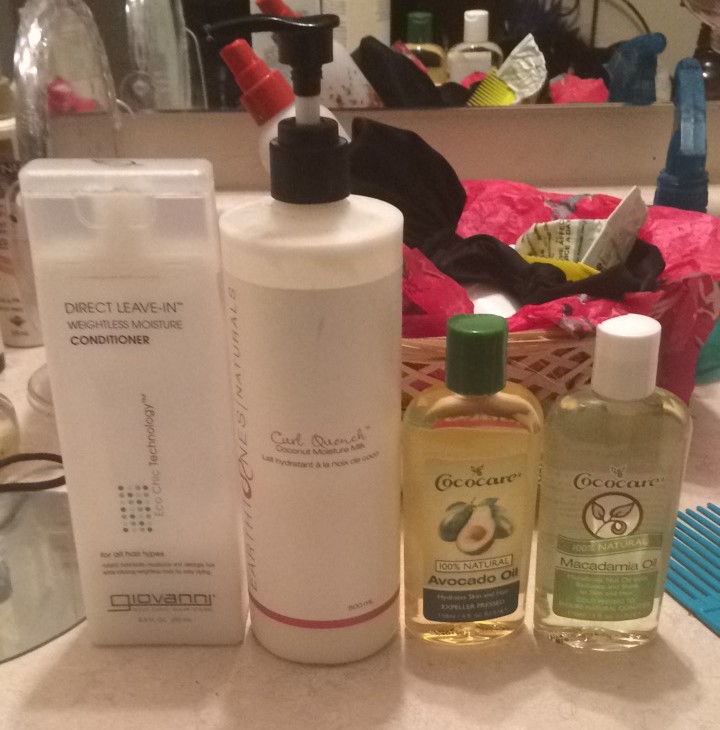
1. First, if you already have a good hydrating, conditioning, and moisturizing hair care routine, please keep it up- you’re already ahead of the game!

2.  Coat your hair, as usual, from roots to ends with your moisturizing/conditioning product(s), paying special attention to the ends.

3.  Make sure you seal-in your moisturizing product(s) by using your preferred oil. ***Keep in mind that low porosity hair prefers lighter oils whereas high porosity hair has an easier time absorbing either thicker or thinner oils- you can also seal high porosity hair by using a natural hair butter (shea butter, cocoa butter, mango butter etc).

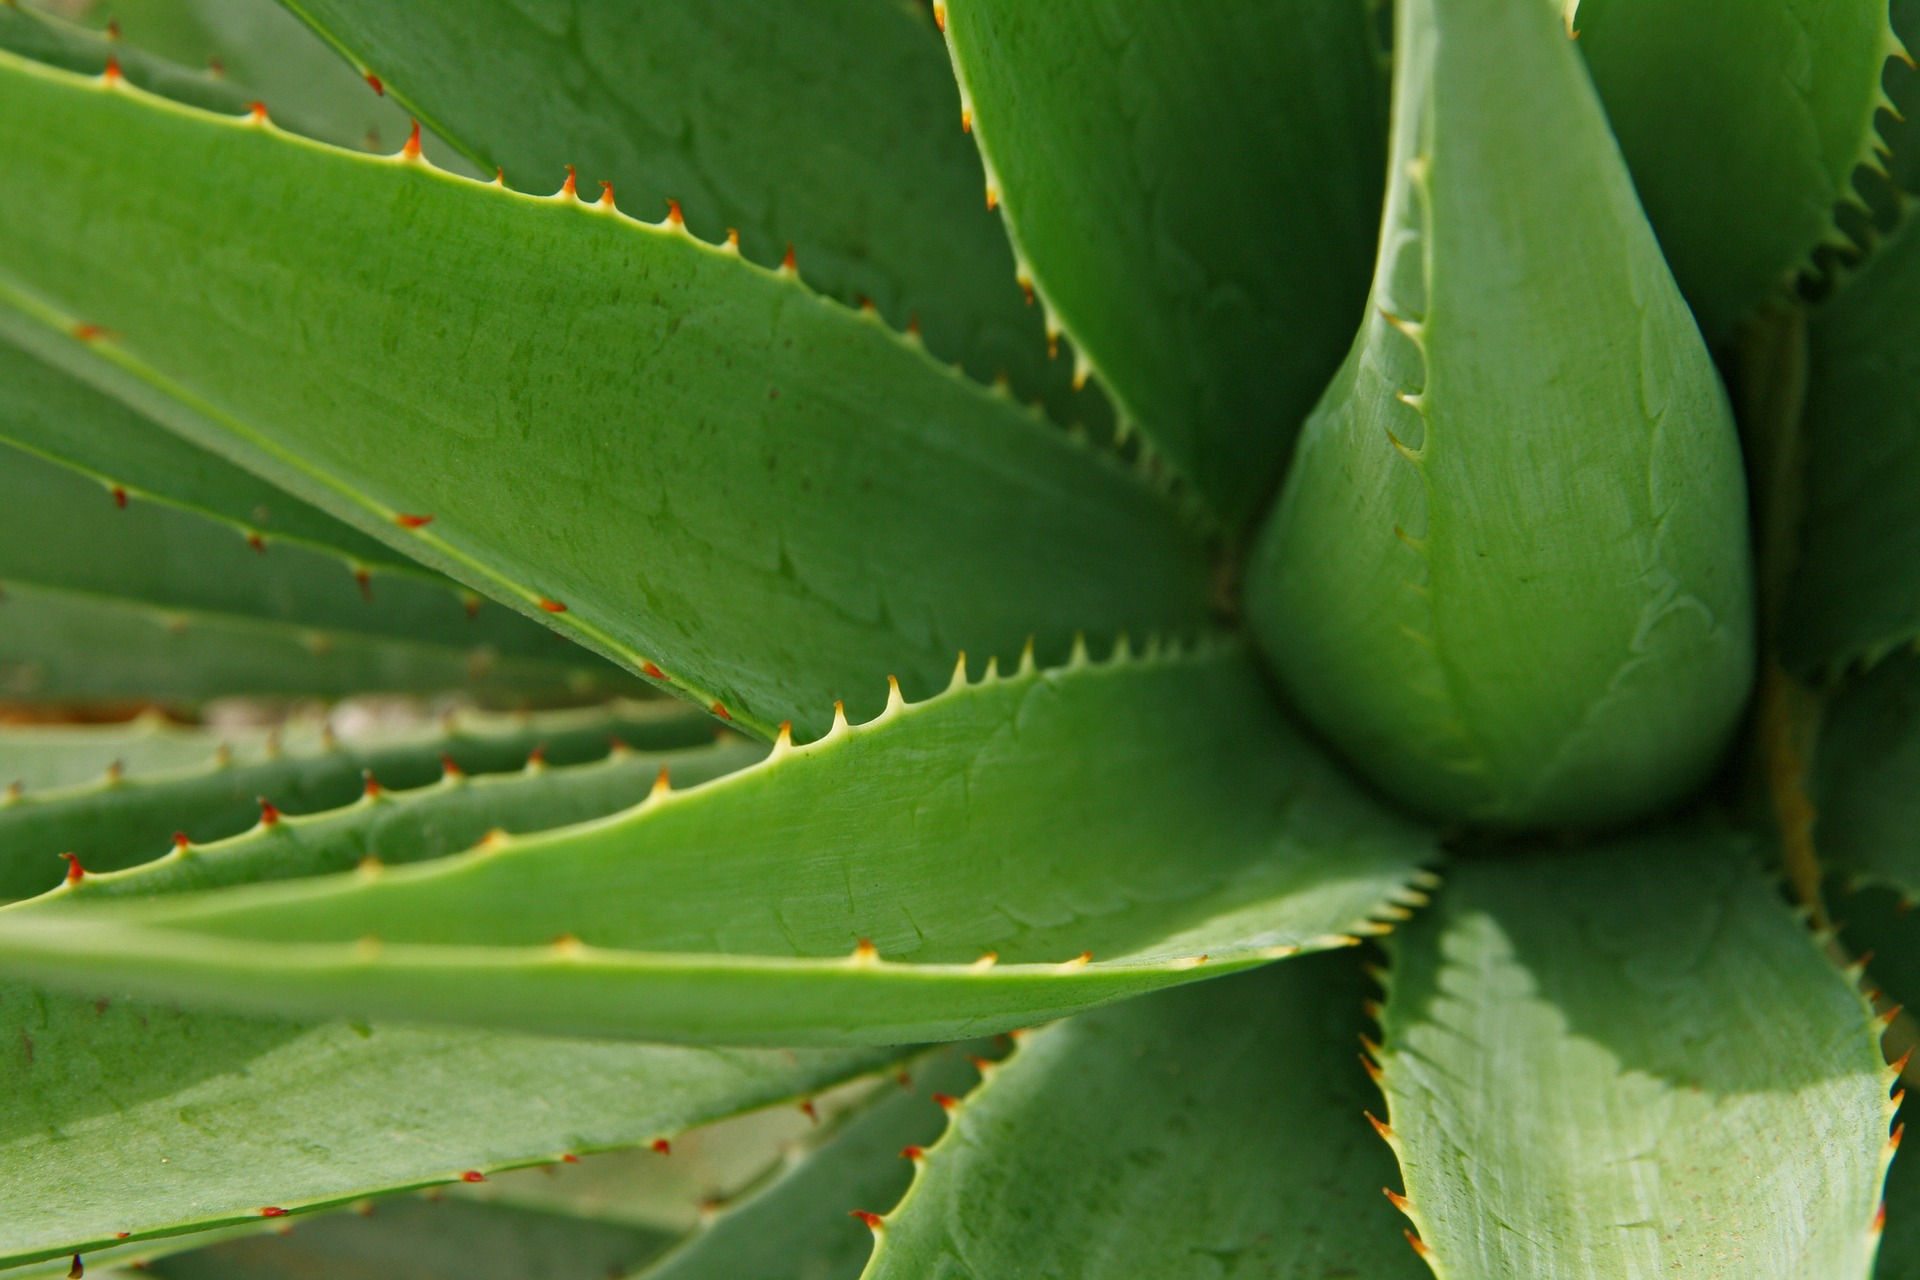
4.  Spray a mixture of water, a little oil, and some aloe vera juice on your scalp to help protect, mitigate, and/or reverse the effects of the very drying cold air.

5.  Deep condition once biweekly, at a minimum.

6.  Put your hair away in protective styles: wigs, braids, twists, faux locs, etc- there are a variety to choose from, and they’re all beautiful!

***Do not neglect to properly treat your hair before you put it away; keep it hydrated; and maintain proper scalp care while wearing your protective style, to ensure that your hair will continue to thrive*** 

7.  Consider purchasing a silk or satin lined hat for when you venture out into the cold. Silk and satin cause little to no friction against the hair and are wiser choices in comparison to cotton and knitted hats that can potentially snag and damage your strands.

8.  And finally, as always, please do listen to your hair! Give it what it’s asking for, and it will show you love through its beauty and glory…even though it might be cold outside!


How do you plan on protecting your hair this winter season?


Advertisement

Aloe Vera Juice Recipe

Hey everyone, here’s a quick recipe to make your own aloe vera juice!

Although this recipe is directed towards the use of aloe vera juice in the hair, it must be noted that this green miracle plant, also known as Aloe Barbadensis, Aloe Indica, and Aloe Barbados, has been used for generations around the globe. The popularity of the aloe vera plant stems from its great medicinal qualities, as well as its potential to be utilized to replenish and rejuvenate damaged and dead cells. The aloe vera plant has so many natural benefits that it is not uncommon for it and its extracts to be used in cosmetics, hair products, lotions, body butters, and even beverages for consumption.

Using aloe vera juice in your hair will help to soften and moisturize your strands, acting as a humectant that will draw water from the air into your hair. The juice will also work to reduce irritation and itchiness on the scalp when applied directly to the scalp, as aloe vera juice possesses anti-inflammatory properties. To find out more about the history and various uses for the aloe vera plant, please click here.

***Warning: When preparing to use any new product, whether homemade or store-bought, you should perform a 24-hour skin test to see if any allergic reaction sets in. To perform this test for aloe vera, cut a small piece of the plant, and then cut that piece in half to expose the gel/sap. Next, take the sap side of the stalk segment and rub it on a small section of your inner forearm. Allow it to sit for a minimum of 4 hours to a maximum of 24 hours and monitor for any reaction.

In like manner, before using a new product on your hair, you should try it out on a small section first. Results may vary, depending on your hair type and porosity. Use at your own discretion.***

DIY Aloe Vera Juice:

To prepare this mixture which will be utilized on your hair you will require a couple of items/tools:

  1. Aloe vera stalks (2 to 3 stalks)
  2. 1 and 1/2 cups of water
  3. A couple of drops of a preferred oil (ex. avocado oil works well)
  4. A spoon (to scrape the gel/sap from the inside of the aloe plant)
  5. A sharp knife
  6. A bowl
  7. A blender
  8. A strainer or cheesecloth
  9. A spray bottle

Method:

  1. Using the knife, carefully remove the barbs along the perimeter of the aloe vera stalks
  2. Take knife and carefully cut the aloe vera stalks length-wise down the middle; have bowl situated underneath to catch any gel/sap that drips from the stalks
  3. Using the spoon, scrape out the gel/sap from the inside of the plant into the bowl
  4. Transfer contents of bowl into blender; blend for 20 seconds
  5. *Optional: add scraped aloe vera stalks to blender and blend until smooth*
  6. Add water to blender, blend for 10 seconds
  7. *If aloe vera stalks were added to blender, strain*
  8. Transfer aloe vera juice to spray bottle
  9. Add a couple drops of preferred oil to spray bottle and shake
  10. Store in fridge to keep fresh
  11. When the time comes to use your aloe vera juice, remember, a little goes a long way! Shake spray bottle well, spray juice into hands, and rub throughout hair; or spray directly on to previously-sectioned hair. Afterwards, apply your regular hair care/styling products according to your personal hair regimen, and enjoy!

 Do you use aloe vera in your hair or skin care regimen? How has it worked for you?


How to Bantu-knot your hair

Bantu knots, also known as Zulu or Nubian knots, chiney bumps, pepper seeds, or hair nubbins, is a traditional African hairstyle, made by sectioning your hair into triangles, diamonds, or squares and coiling those sections into knots.

What you will need:

  • Sulfate-free shampoo and conditioner
  • 
Towel
  • Spray bottle
  • 
Wide-toothed comb/Detangling brush
  • 
Tail comb
  • Butterfly clips/Snag-free ponytail holders
  • Water-based moisturizer
  • Twisting gel/cream
  • Bobby pins (optional)

Steps:

  1. For best results, start with damp hair that has been recently shampooed and conditioned and towel-dried.
  2. Spritz hair with water using a spray bottle.
  3. Use your fingers or a tail comb to divide hair into about 6 to 9 sections, depending on the thickness of the hair.
  4. Separate the sections using butterfly clips or snag-free ponytail holders.
  5. Starting at the back of the head, loosen one section of hair (one on either edge of the nape is usually best).  If the section feels dry, spritz it with some water.
  6. Apply your favourite water-based moisturizer to the section, paying extra attention to the ends of the hair.
  7. Use your fingers/wide-toothed comb/detangling brush to detangle the section of hair.
  8. Apply your favourite twisting cream or gel to the section to the moisturized, detangled section.
  9. Separate with your fingers or part a piece of the section with your tail comb into your desired shape (starting from the edge of the nape makes it easier), keeping in mind that the bigger the piece the bigger the size of your Bantu knot, and clip the rest of the section to the side.
  10. Bend the strand close to its base and pinch the bump created between the thumb and pointer of your left hand, and use your right hand to wind the length of the strand around the bump at the base to form a coil.
  11. Keep winding the length of the strand around the coil with your right hand, gradually winding closer and closer to your head with each round, until all of the strand has been completely wound up, to form a Bantu knot.
  12. If your hair is curly, and your knot is coiled tightly enough, the ends will likely stay coiled under the knot; if your hair is looser, then you may need to use a bobby pin to hold the knot in place.
  13. Unclip the remainder of the section, and repeat Steps 9-12 until the section is completely knotted.
  14. Move on to the next section of hair, and repeat Steps 5-12 until all of the sections are knotted.

***You can also create Bantu knots from two-strand twists: once your two-strand twists are completed, follow steps 10-14 above.***

To keep your Bantu knots neat, wear a satin bonnet or tie your head with a satin/silk headscarf when you go to sleep.