Aloe Vera Juice Recipe

Hey everyone, here’s a quick recipe to make your own aloe vera juice!

Although this recipe is directed towards the use of aloe vera juice in the hair, it must be noted that this green miracle plant, also known as Aloe Barbadensis, Aloe Indica, and Aloe Barbados, has been used for generations around the globe. The popularity of the aloe vera plant stems from its great medicinal qualities, as well as its potential to be utilized to replenish and rejuvenate damaged and dead cells. The aloe vera plant has so many natural benefits that it is not uncommon for it and its extracts to be used in cosmetics, hair products, lotions, body butters, and even beverages for consumption.

Using aloe vera juice in your hair will help to soften and moisturize your strands, acting as a humectant that will draw water from the air into your hair. The juice will also work to reduce irritation and itchiness on the scalp when applied directly to the scalp, as aloe vera juice possesses anti-inflammatory properties. To find out more about the history and various uses for the aloe vera plant, please click here.

***Warning: When preparing to use any new product, whether homemade or store-bought, you should perform a 24-hour skin test to see if any allergic reaction sets in. To perform this test for aloe vera, cut a small piece of the plant, and then cut that piece in half to expose the gel/sap. Next, take the sap side of the stalk segment and rub it on a small section of your inner forearm. Allow it to sit for a minimum of 4 hours to a maximum of 24 hours and monitor for any reaction.

In like manner, before using a new product on your hair, you should try it out on a small section first. Results may vary, depending on your hair type and porosity. Use at your own discretion.***

DIY Aloe Vera Juice:

To prepare this mixture which will be utilized on your hair you will require a couple of items/tools:

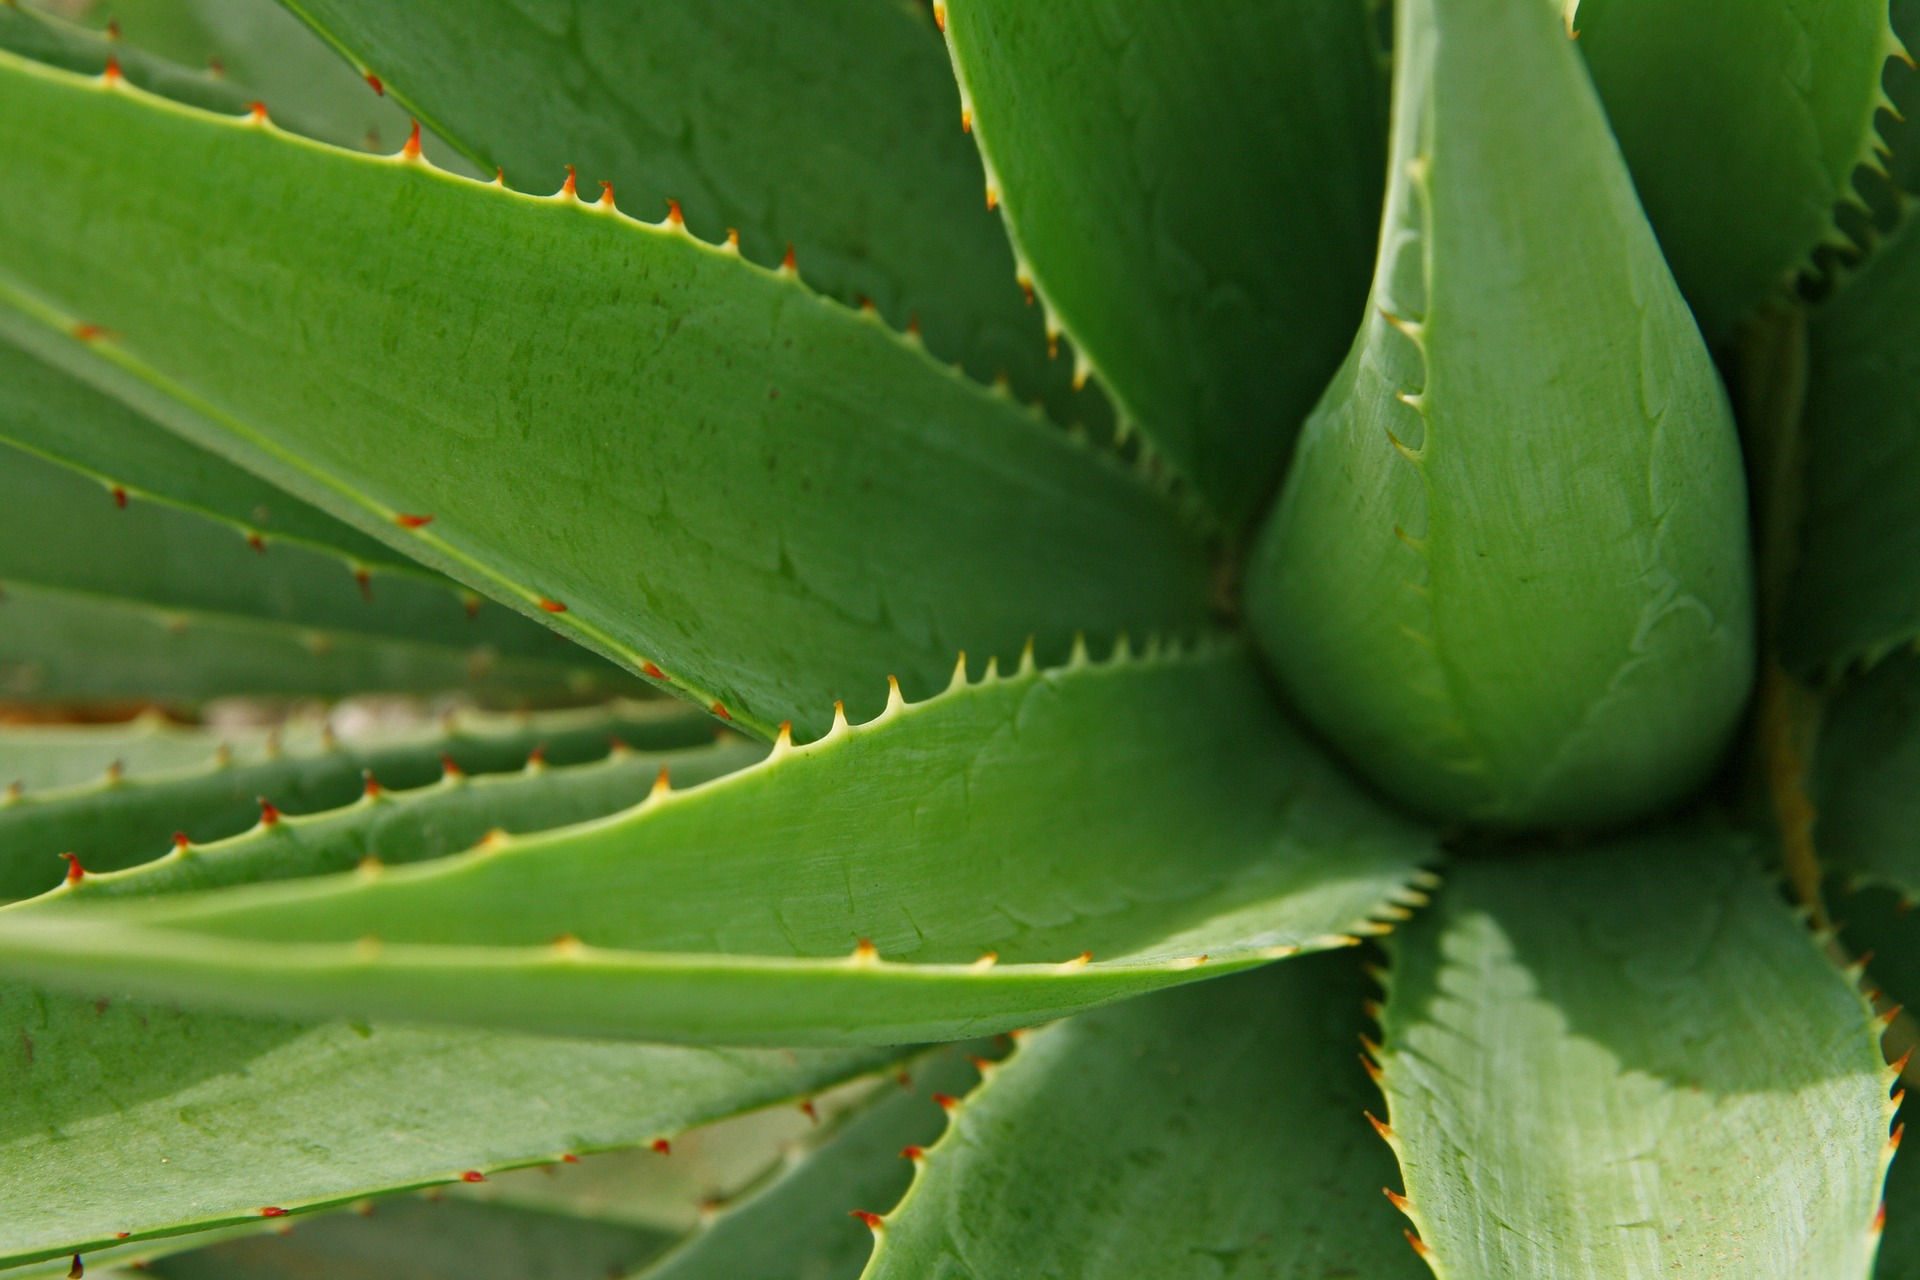
  1. Aloe vera stalks (2 to 3 stalks)
  2. 1 and 1/2 cups of water
  3. A couple of drops of a preferred oil (ex. avocado oil works well)
  4. A spoon (to scrape the gel/sap from the inside of the aloe plant)
  5. A sharp knife
  6. A bowl
  7. A blender
  8. A strainer or cheesecloth
  9. A spray bottle

Method:

  1. Using the knife, carefully remove the barbs along the perimeter of the aloe vera stalks
  2. Take knife and carefully cut the aloe vera stalks length-wise down the middle; have bowl situated underneath to catch any gel/sap that drips from the stalks
  3. Using the spoon, scrape out the gel/sap from the inside of the plant into the bowl
  4. Transfer contents of bowl into blender; blend for 20 seconds
  5. *Optional: add scraped aloe vera stalks to blender and blend until smooth*
  6. Add water to blender, blend for 10 seconds
  7. *If aloe vera stalks were added to blender, strain*
  8. Transfer aloe vera juice to spray bottle
  9. Add a couple drops of preferred oil to spray bottle and shake
  10. Store in fridge to keep fresh
  11. When the time comes to use your aloe vera juice, remember, a little goes a long way! Shake spray bottle well, spray juice into hands, and rub throughout hair; or spray directly on to previously-sectioned hair. Afterwards, apply your regular hair care/styling products according to your personal hair regimen, and enjoy!

 Do you use aloe vera in your hair or skin care regimen? How has it worked for you?


Advertisement

How to cornrow your hair

Cornrows or canerows (or track braids) is a traditional African braiding technique. Cornrows are made by braiding the hair onto the scalp’s surface, after parting the hair into a design.

  1. Part a section of the hair starting from the hairline to the nape, keeping in mind that the thicker the section the thicker your cornrow will be.

2. Clip the rest of the head of hair to the side or put it in a ponytail holder to keep it out of the way while you cornrow the parted section.

3.  Starting at the hairline, take a small piece of the parted section and split that piece into three equal strands.

TIP: Anchor the right strand of hair in-between the middle finger and ring finger of your right hand; and anchor the left strand of hair in-between the middle finger and ring finger of your left hand, and brace your hands against the head, leaving your thumbs and pointer fingers free to pull the outside strands under the middle strand as you braid.

Try to brace your pinky fingers against the head, and hold the strands as upright as possible, to help you get the right tension!

4.  Start braiding the strands like a regular plait using the underhand method (opposite of a French braid) for about two stitches/notches: using the pointer/index finger and thumb of your left hand to pull the right strand under the middle strand; using the pointer/index finger and thumb of your right hand to pull the left strand under the middle strand; the right strand under the middle strand, and the left strand under the middle strand.

5. Now you will start the cornrow.   As you make the motion of pulling the right strand under the middle strand using the pointer/index finger and thumb of your left hand, pick up extra hair from the right side of the parted section and pull it into the right strand. Pull the right strand with added hair under the middle strand.

6.  Then, do the same thing as you make the motion of pulling the left strand under the middle strand using the pointer/index finger and thumb of your right hand,  pick up extra hair from the left side of the parted section into the left strand.  Pull the left strand with added hair under the middle strand.

TIP: As you pull the right and left strands under the middle strand, run your fingers through to the ends to prevent the free ends from tangling.

TIP: As you cornrow, try to keep your hands at an angle of as close to 90 degrees as possible/upright against the head (as opposed to following the direction in which you are cornrowing). Holding your hands at close to 90 degrees/upright will help you get the right tension to keep the cornrow neat and tight (without yanking the hair).

7.  Continue to cornrow, by repeating Steps 5 and 6: picking up extra hair on each side as you pull the right strand under the middle strand, the left strand under the middle strand, the right strand…until there is no more hair to add from the parted section.

TIP: Try to pick up the same amount of hair on each side to make the stitches/notches of your cornrow neat and even.

8.  Once all of the hair in the parted section is cornrowed against the scalp, continue to braid the free ends like a regular plait using the underhand method.

Keeping the cornrow from unwinding:

9.  Once you get to the end of the plait, if the hair is very curly, the cornrow may hold itself together. If not, you can either spiral the ends around your finger, using a little twisting gel/cream, or you can secure the cornrow with a snag-free/covered elastic band, clip, or barrette.

Finishing the style

10. Unclip or loosen the unbraided hair and repeat Steps 1-9 until the entire head is cornrowed.

TIP: How you part the hair will determine the size and shape/design of your cornrows; so, to keep them even, in Step 1, part the new section the same size and in the same shape as the cornrow beside it.  

Also, keep in mind, if you are cornrowing straight back, as you part the hair, you will have to taper the section toward the nape—the hairline and the crown of the head covers more area than the nape, so if you don’t taper the sections, you will run out of hair to cornrow at the back of the head.

Finally, to keep your cornrows neat, wear a satin/silk scarf or headtie, or use a satin/silk pillowcase when you go to sleep. Depending on how curly your hair is, how small the cornrows are, and whether you tie your hair at nighttime, your cornrowed style could last for a few days or up to a week or so.

Happy cornrowing!